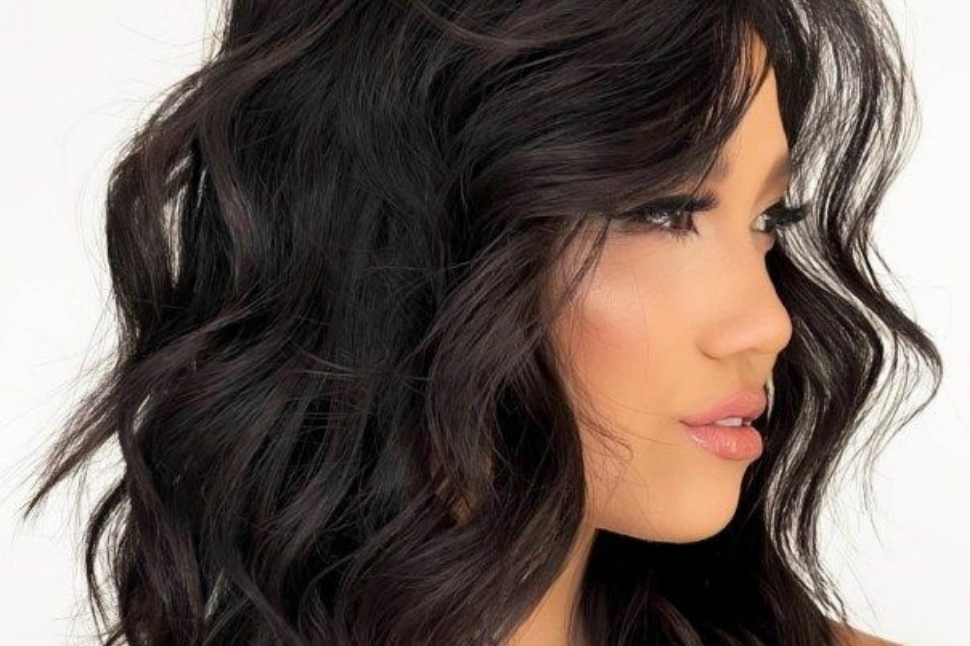
We all love that laid-back, effortless, lived-in look, but what does it actually take to get you there? Well, I will do my best to break it down into a couple of easy steps to help you achieve just that. If done properly, this style can last several days, so let me break it down for you!
For starters, it’s important to consider the length of your hair. This will help determine what size rod or curling iron will best suit you to achieve your desired look. Next, you need to determine your hair texture, as finer hair may require more foundational product and an extra strength hairspray to lock in the style than thicker hair would. Finally, there’s the question of style. Not all loose waves are created equal—that’s why there’s such a large variety of curling wands/irons to choose from. So, there’s more than a handful of things to consider. Once you get the swing of it, though, it’ll come easily. Remember, practice makes progress (as I like to say), so don’t fret if it doesn’t come out perfectly after the first go around.
Step One, Foundation: Coat the Hair With Heat Protectant
Preventing damage is the best way to avoid the need to repair it later. Just as you wouldn’t go out in the sun without lathering your skin with SPF, you should always protect your hair from the effects of hot tools. As a stylist, it’s non-negotiable.
Step Two, Foundation: Apply a Texturizing Spray to Help Create Grip and Hold
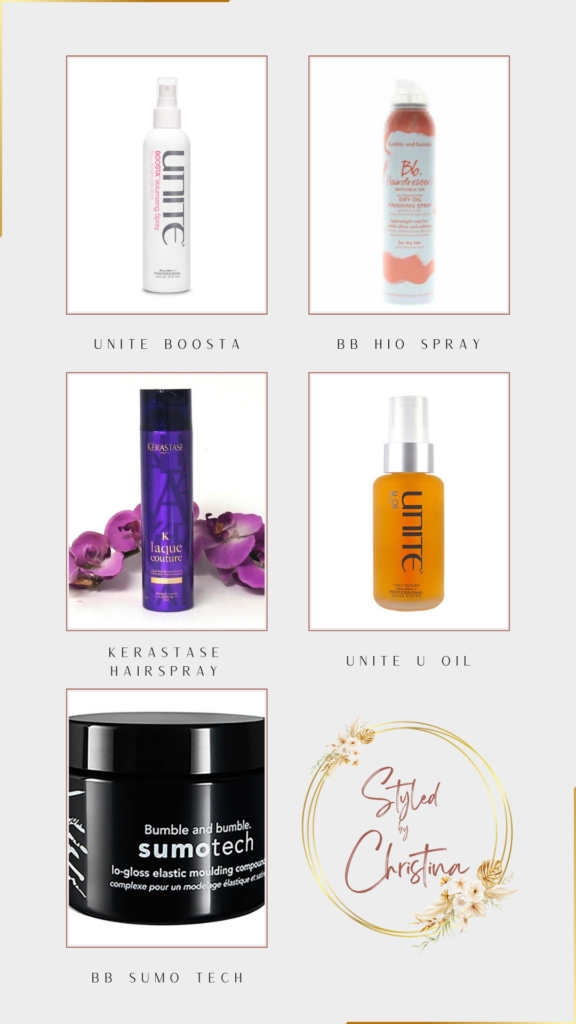
Whether your hair is thick-coarse-curly, fine-straight, or anywhere in between, prepping the hair with a good texturizing foundation product like the *Unite Boosta Spray will help add hold to the hair and keep it from falling limp after all that time and hard work you’ve just put in. While the hair is still damp, take it in sections and spray evenly, but at a distance so it gently and evenly falls onto the hair. The water in the hair helps evenly distribute the product, adding a little slip so it’s worked through from roots to ends. Be sure to use a detangling brush to work the product throughout the hair and get rid of any knots before applying the dryer to it. These products work well for those small baby hairs around the face that get frizzy and curly while adding hold and volume to finer hair types. It’s a win-win for sure!
Step Three: Pick the Right Tool For Your Hair Length, Texture, and Desired Style
As mentioned above, different hot tools create different styles and are better for certain hair types. For example, a 3/4″ barrel creates much tighter waves than a 2″ barrel. Then, you need to consider your hair type and factor whether or not you have color-treated hair, as that could determine the heat setting you pick.
Temperature control settings should be adjusted depending on the hair type and if the hair is color-treated. If the hair is color-treated, it is not recommended to go over 350° because the hair color will get compromised. Hair that has not been chemically altered can go up to 400°. Now that you know which tools and temperatures are best suited for your hair type, take your dryer and rough dry your hair, working in sections by either lifting away from the head to create volume or applying downward tension to create a smoother, sleeker canvas. Don’t worry too much about getting the perfect blowout; the hot tool will do the rest of the work. You just want to establish an overall shape before using the curling iron. If you have baby hairs around the face that you’d like to smooth out, gently tug on those with either your fingers or a small round brush, then apply the dryer’s nozzle and direct the heat away from the face. The texturizing product, in tandem with the force of the air, will help keep those bad boys at bay.
Step Four: Curl Small Sections Away From Your Face

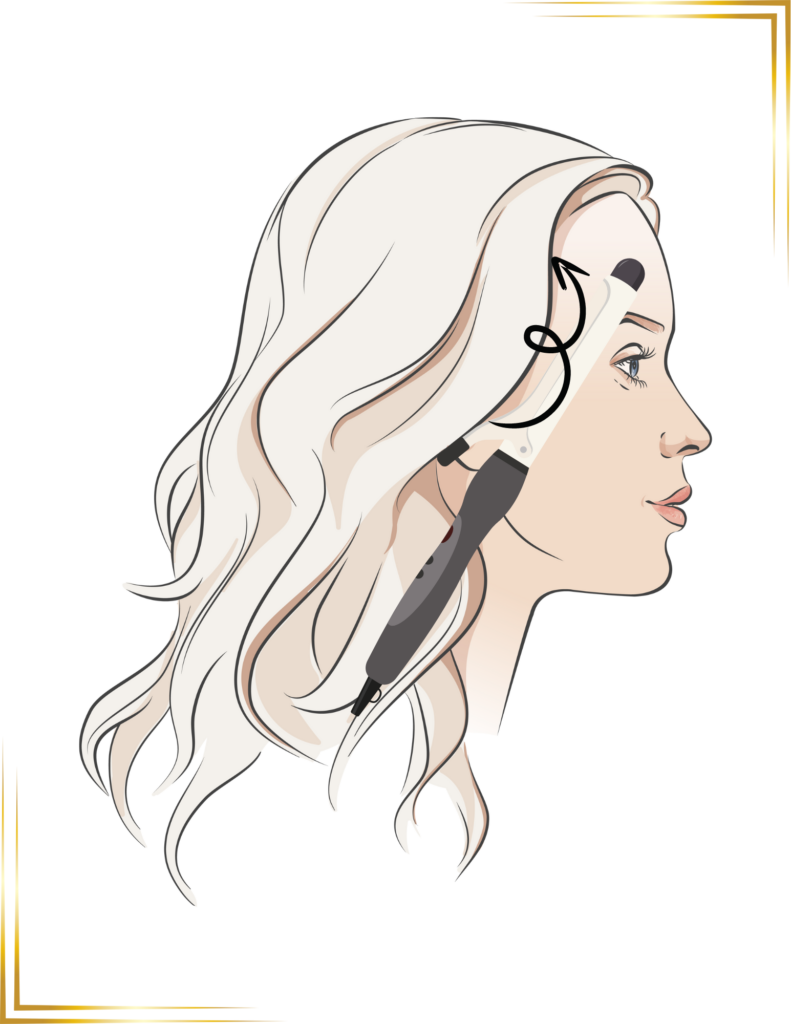
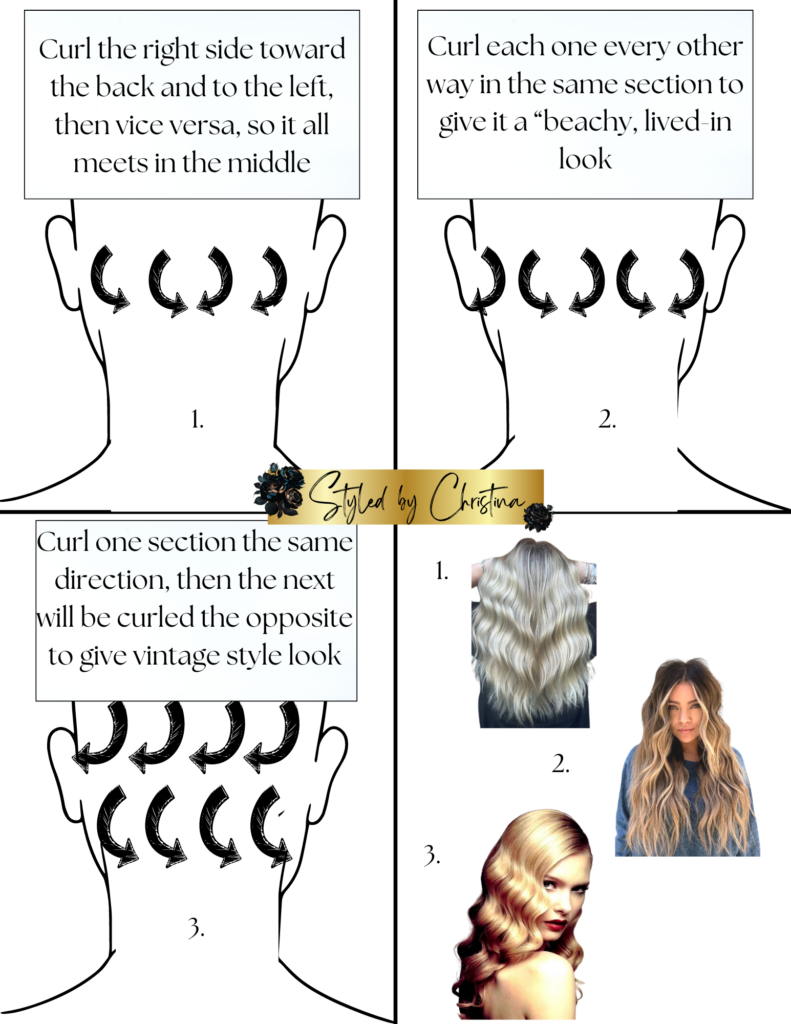
Start with small sections and twist the curling iron from front to back so the wave flips outwards from the face. Smaller sections allow for more curl definition and even distribution of heat. Section your hair into two or three sections (depending on how dense your hair is), working from the bottom section to the top. Twist and wrap your hair around the iron (this helps create a textured, beachy look). The key here is to keep your hair moving to avoid clamp marks from the iron. If you use the clamp on the iron, hold the tool parallel to the head, which will help prevent those marks from happening in the first place. If you want to keep your style from looking too “formal,” leave about 1-2 inches of the ends out of the curling iron, giving it a more “lived-in” look instead of overdone. You want to start in the middle of your strand, opening and closing the clamp while twisting the iron around to distribute the heat through the section evenly.

Step Five: Hairspray Your Waves While They Cool
As tempting as it may be, do NOT touch or tug on your curls when they come off the iron, even if they look too tight or you feel you resemble Little Bo Peep. Letting your curls cool completely is an important step to getting waves that last all day, so be patient and allow them to cool at room temperature. While waiting for your curls to cool, you can mist your hair with flexible hold hairspray like the *Kerastase Laque Couture to lock in the shape, especially if you have straight hair that doesn’t tend to hold a curl.
Step Six: Brush Your Waves Out
Once your hair has completely cooled and you’ve applied a light, even layer of hairspray, brush through your curls with either a wide-toothed comb or paddle brush to create the loose waves effect. This will help separate your waves and create a fluid appearance, joining the sections you curled into a more cohesive style.
Step Seven: Finish With a Shine Spray
After you’ve brushed through your curls, it’s normal for hair to get a bit “fluffier” or to see some frizz. That’s why I recommend finishing the look with a touch of shine spray to tame frizz, smooth out your ends, and create a sleeker appearance. The best way to apply shine spray is to spray it onto your hands, working through the ends of your hair. One of my favorite products is the *BB Hairdressers Invisible Oil Spray with UV Protection. This way, you won’t get areas where the shine looks greasy or uneven. Or spray from a distance, but be careful not to slip once it falls on the floor. For thicker hair types that need a little more weight as an added benefit, shine serum or drops are best, like the *U Oil from Unite. For mega-watt shine and frizz control, try Oribe’s Imperméable Anti-Humidity Spray. For those pesky fly-away hairs that like to stick straight up like antennas, I suggest using the *BB Sumo Tech. It may seem counterintuitive, but because this is a matte wax, it will not make the roots greasy or weighed down. I also like to apply this to the fringe area because it’ll help keep them from falling in your face yet remain pliable to the touch. Using hairspray for these issues will only temporarily help, which loses its holding power once you’ve run your fingers through your hair. I never suggest using any more than a pea-sized amount at MOST! Just scoop some out with the outer part of your fingernail, rub it throughout your hands (if done properly, it should look like there’s nothing there), then apply it to the areas that need a little extra attention, and voila! You’re all set.
Pro Tip:
Did you know that the amount of product you’re supposed to use is often indicated by the size of the packaging it comes in? This, of course, is assuming you haven’t purchased the economy or travel size. For instance, Shine Drops come in a smaller package, yet the pricing does not reflect its smaller size. Why is that? Well… that’s because the company wants you to think, “My goodness, this tiny thing cost me $60+, so I’d better use it sparingly”. This is the same reason why professional products tend to be more expensive. Partly because the ingredients they use are better tested and better quality. The other half to that is because naturally, it’s human nature to think that if we have more of something, we should use more of it as well. This is not the case here. Packaging and pricing products this way helps deter the consumer from overusing or misusing the product, but instead, it helps them understand that less is more!
Product Recommendations:
Bumble and bumble. | Hair Care, Styling, Inspiration, and more.


